Homemade Flour Tortillas

When I was growing up, my mom made Mexican food at least once a week.  It was my favourite night of the week as I loved Mexican food!!! Hmmm, some things never change… *hehe* One evening, mom decided to make us quesadillas and surprised us with homemade tortillas. We were all hooked – the fresh tortillas were fantastic. Ever since then, I’ve much preferred homemade flour tortillas to store-bought ones. I suppose that makes sense, since homemade anything is usually better than store-bought counterparts.

Homemade tortillas are easy to make and take very little time. They freeze extremely well, so you can make a large batch and have them readily available whenever the mood strikes.

Tomorrow, I will be posting a delicious & unique quesadilla recipe. These homemade flour tortillas work perfectly when making quesadillas. I thought I would share this recipe today just in case you’d like to try your hand at making homemade tortillas. They are like little blank canvases waiting to be decorated with fantastic fresh, flavourful ingredients. *hehe* 

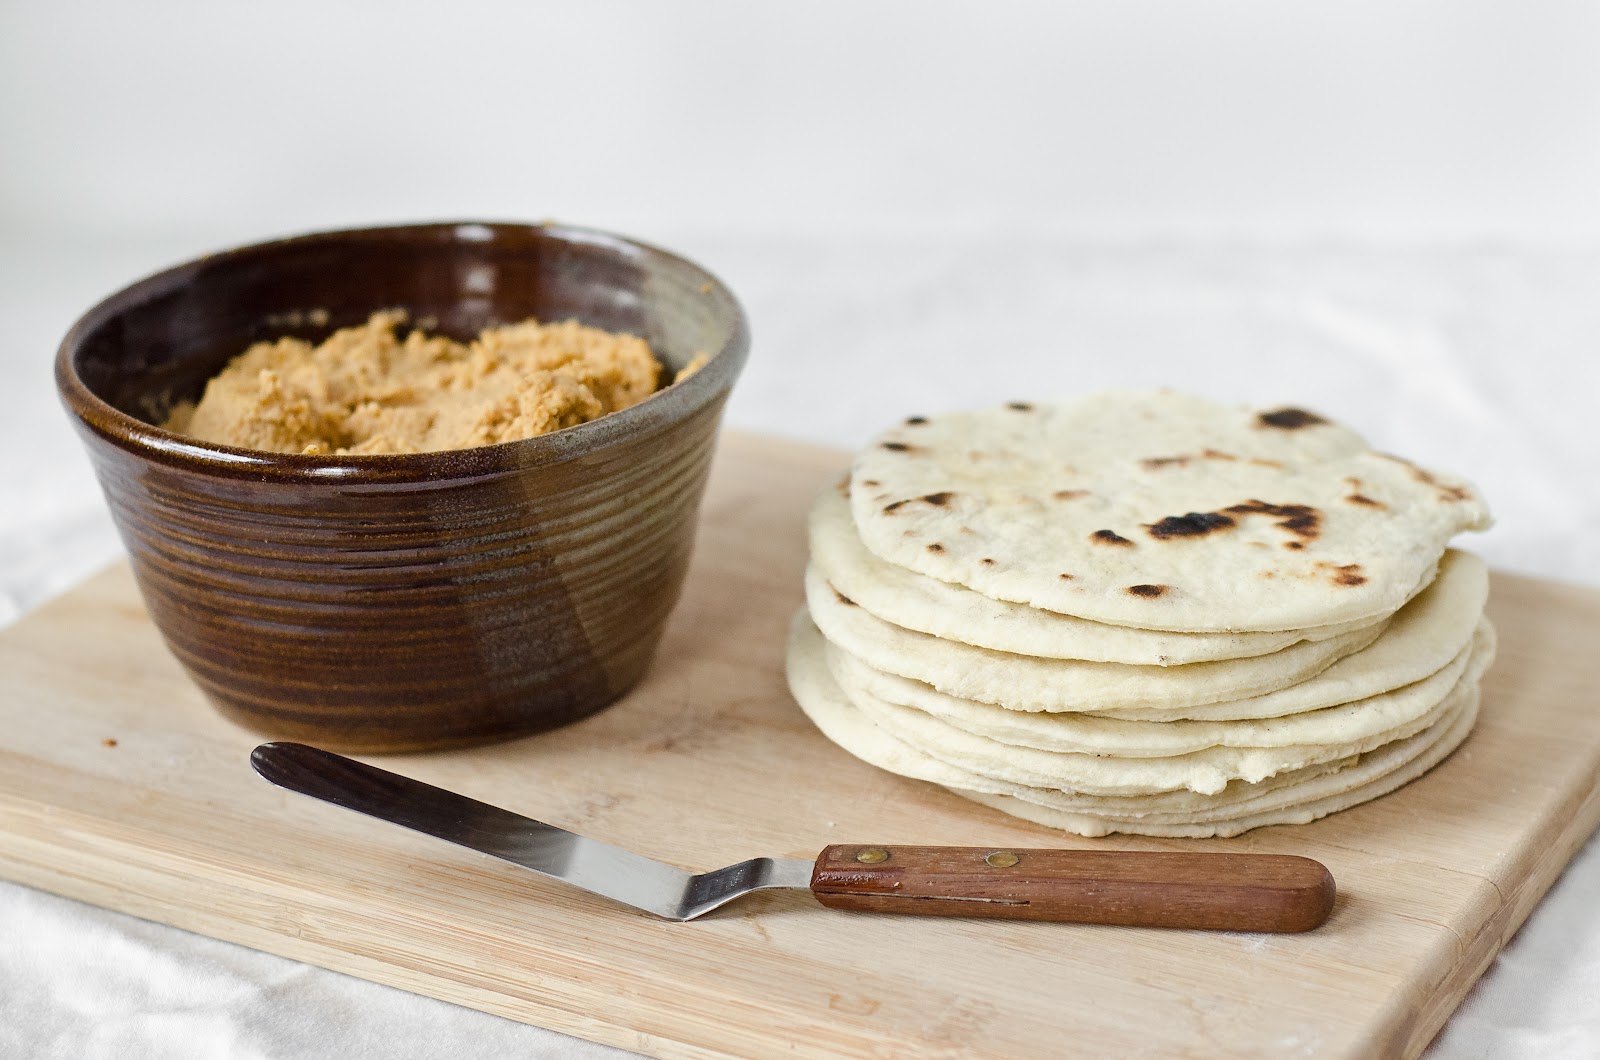
One final note: these tortillas are great cut into wedges and smeared with hummus. The perfect quick & healthy snack :)

Ingredients
  • 1 cup of all-purpose flour
  • 1 cup of whole wheat flour
  • 1 teaspoon of baking powder
  • 1 teaspoon of salt
  • 1/4 cup of unsalted butter or Earth Balance; slightly chilled
  • 2/3 cup of water

Method

1. Place flours, baking powder and salt in a medium bowl. Mix well.

2. Cut in the butter until the mixture is crumbly. Note: I put the flour mixture into the bowl of a food processor and then cut the butter in by pulsing the mixture a few times.

3. Add water slowly and mix until the dough forms a ball. Note: I slowly added the water into the food processor, as I pulsed the mixture until it formed a nice ball of dough. If the dough is too dry, add 1 tablespoons of water at a time until it forms a ball.

4. Turn onto a floured surface and knead 8 times. Cover with an inverted bowl and let rest for 20 minutes.

5. Cut the dough into 10 individual pieces and roll into balls. Roll out a portion/ball of dough as thin as you can. Invert a 7 inch (18cm) bowl or 8 inch (20 cm) plate on the dough, cut around the edge and repeat until all dough is rolled.

6. Place 1 tortilla on an ungreased frying pan on medium-high heat. Dark spots will begin to appear in 15 to 20 seconds, flip, brown another 15 seconds and set tortilla aside. Continue this process until all of the tortillas are cooked through. Keep hot tortillas warm in a tea towel.

Tortillas can be frozen (flat & separated) once thoroughly cooled. Placing some waxed paper between the tortillas before freezing allows for easier separation after being frozen. When you are ready to use the tortillas, you can place them in the fridge the night before you plan to use them, so they are thawed by dinner time. You can also microwave them, but be careful not to microwave them for long, or you’ll end up with very dry/hard tortillas. I suggest no more than 20 seconds. You can also warm them up in the oven for a few minutes at 350’F – my preferred method.

You can also cut the dough into smaller pieces to make small tortillas that you can top with all sorts of ingredients to serve as appetizers.

Yield: 10 to 12 tortillas – recipe can easily be doubled

Source: Company’s Coming Breads

Brie Apple Grilled Cheese with Quick Caramelized Onion Jam

So, apparently April is National Grilled Cheese Month! Why was I not aware of this before today!? Maybe there was really no need for me to know, as I don’t really need an excuse to make a grilled cheese sandwich. I’ve never needed one before! *hehe* I’ve loved grilled cheese sandwiches since I was a kid and my dad would make “toasted cheese breads” for a snack on the weekends. 

This morning, after I read that it was National Grilled Cheese month, I spent all morning day dreaming of my very favourite fancy grilled cheese sandwich – creamy brie cheese, sour yet sweet caramelized onion jam, crisp apple slices, fresh basil and flavourful dijon mustard, oh my! The second work was done for the day, I went straight to the market to grab the items I needed to make my grilled cheese sandwich dreams come true! 

Somehow I had enough self-restraint to spend 5 minutes photographing my delicious sandwich, so I could share it with you. But let’s just say, once I finally sat down to eat my awesome grilled cheese sandwich, I was no longer so patient and lady-like. I devoured this sandwich in seconds. *hah* And am now typing this post feeling extremely content. *hehe* A great way to start the weekend!

What makes your favourite grilled cheese sandwich special?

Note: This sandwich can be made vegan by using a shredded white vegan cheese. I highly recommend using Daiya shredded vegan cheese, as it melts extremely well. And you want this sandwich to be gooey! :)

Ingredients
  • 2 slices of whole-grain bread
  • 3 thin slices of brie cheese
  • 1/2 apple; unpeeled, cored and sliced into rounds 
  • handful of fresh basil leaves
  • dijon mustard to taste
  • 2 tablespoons of caramelized red onion jam (recipe to follow)

Method

1. Spray first slice of bread with canola oil and place oil-side down onto a hot frying pan. Place pieces of brie cheese on top of the bread. Spread caramelized red onion jam on top of the cheese. Allow the bread to toast and the cheese to melt.

2. On the second piece of bread, spread a thin layer of dijon mustard.

3. Once the cheese is melted and the first slice of bread is nicely toasted, place a few basil leaves on top of the caramelized red onion jam and top with the second piece of bread (mustard side down).

4. Toast for about 2 minutes, or until the second piece of bread is nice and golden.

Serve warm along with a nice little side salad or a bowl of soup.

Quick Caramelized Red Onion Jam

In a medium sauce pan, heat two tablespoons of canola oil over medium heat. Add one finely diced red onion and sauté for 10 minutes or until the onion begins to soften. Add 2 tablespoons of white sugar and 2 tablespoons of balsamic vinegar. Add 1/4 cup of water. Allow the mixture to come to a boil, stir well and reduce heat to a gentle simmer. Allow the mixture to cook & thicken for about 10 minutes. Allow the jam to cool slightly and add to sandwiches :) Extra jam can be kept in the fridge for 2 weeks.

Source: a Courtney original

Avocado Feta Salsa

Every Sunday, Jesse and I wake up, make a pot of tea and some breakfast and then find an old movie on TV to watch. And every Sunday, you can guarantee there will be SOME old movie on. Our recent viewings have been Jurassic Park, Apollo 13, Mighty Ducks, Back to the Future, American Pie and Jaws. This morning, it’s Independence Day. It’s funny – I would normally not think to sit down and watch any of these movies, but I love our Sunday morning movie dates. And it’s always fun to be surprised with our feature film. No matter how tacky! *hehe*


What does this have to do with Avocado Feta Salsa? Absolutely nothing! *hah* I am just typing up this blog post during our Sunday morning movie date and I thought to mention our fun little tradition :) Do you have any fun weekend traditions?


As for this Avocado Feta Salsa – it’s amazing. My friend Rosanne brought it to our last book club meeting and I devoured it. It was quite embarrassing, as I inhaled more than my fair share. But I could not stop eating it – it was so addictive! It’s really easy to throw together and is best served with tortilla chips, pita chips or melba toasts. It also makes a nice addition to a sandwich. 


Hope you all have a very happy Sunday!

Ingredients

  • 4 roma tomatoes; chopped with seeds removed 
  • 2 tablespoons of finely chopped red onion
  • 2 cloves of garlic; minced (or more if you love garlic)
  • 1/2 cup of crumbled feta cheese
  • 4 tablespoons of chopped cilantro
  • 3 tablespoons of red wine vinegar
  • 2 tablespoons of olive oil
  • 1/2 teaspoon of dried oregano
  • 1/2 teaspoon of salt
  • 2 large avocados

Note: if you don’t want to use Roma tomatoes, you can use cherry or grape tomatoes (about 20) cut in half.


Method
1. Combine all of the ingredients except the avocados in a bowl and chill. Gently stir in the chopped avocado just before serving.


Source: my lovely friend Rosanne